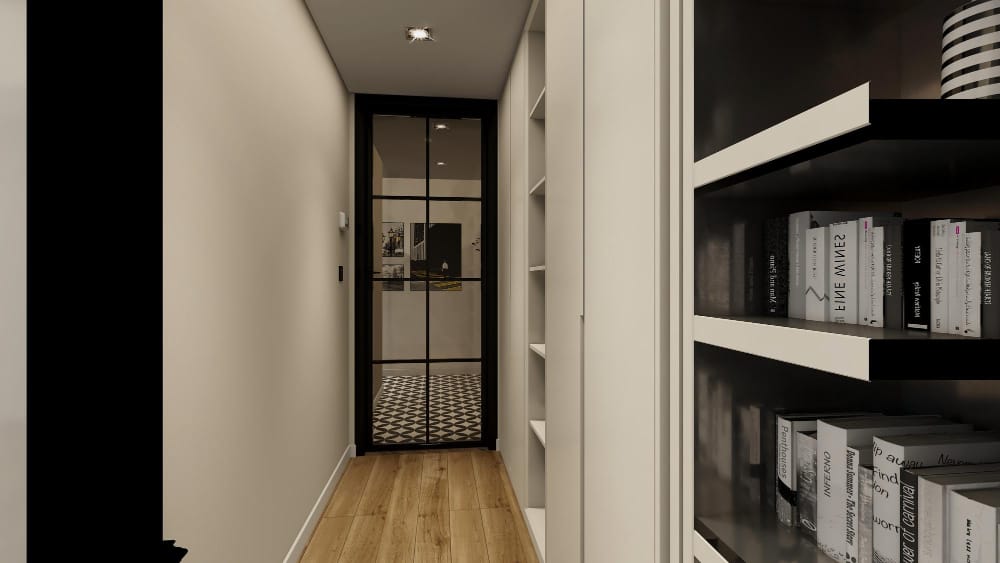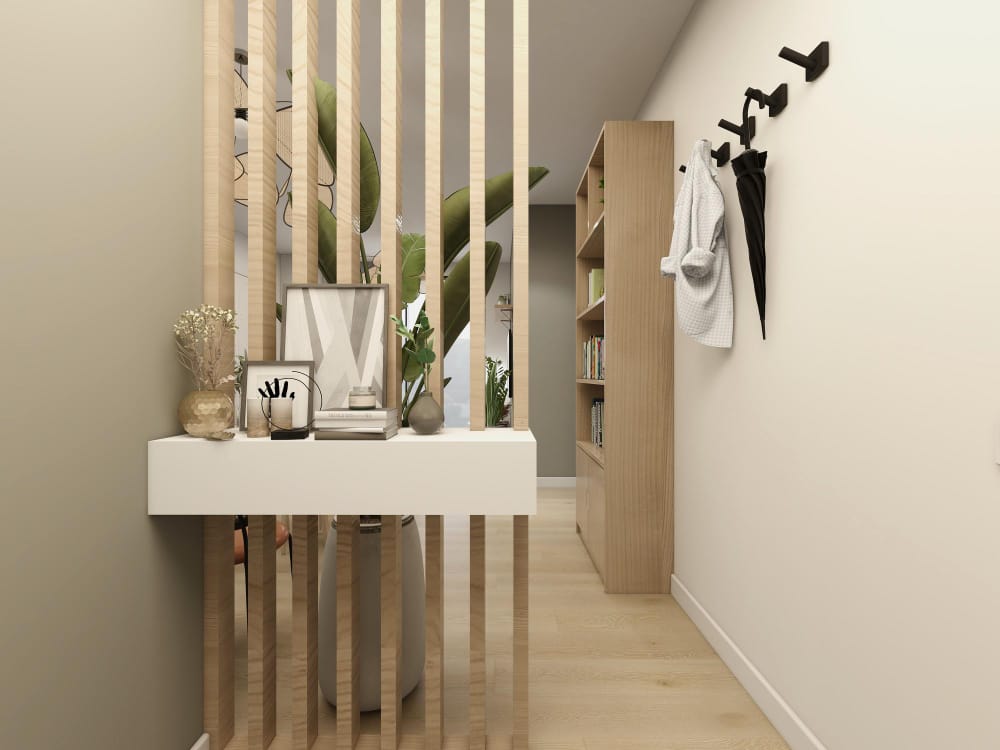
The entryway is the first space people see when entering your home, making organization and functionality extremely important. Homeowners searching for entryway storage systems are often looking for practical ways to reduce clutter while creating an attractive and efficient space.
Modern entryways have evolved beyond simple coat racks. Today’s custom storage solutions provide dedicated areas for shoes, bags, jackets, keys, and everyday essentials while enhancing the overall appearance of the home.
Whether you’re upgrading a small hallway or creating a dedicated mudroom, entryway storage systems can improve organization, simplify daily routines, and increase long-term property value.
Why Organized Entryways Matter
The entryway sets the tone for the rest of the home.
Popular benefits include:
- Reduced clutter
- Improved organization
- Better accessibility
- Enhanced aesthetics
- Increased property value
Organized spaces create a more welcoming environment.
What Are Entryway Storage Systems?
Entryway storage systems are customized organizational solutions designed to store daily essentials while maximizing available space.
Homeowners researching entryway storage systems often appreciate the flexibility these systems provide.
Common features include:
- Built-in benches
- Wall hooks
- Cabinet storage
- Floating shelves
Custom systems improve both functionality and style.
Built-In Benches Add Comfort and Convenience
Benches make daily routines easier.
Popular benefits include:
- Easy shoe removal
- Additional storage
- Comfortable seating
- Cleaner spaces
Benches improve overall usability.
Wall Hooks Keep Essentials Accessible
Frequently used items need convenient storage.
Popular items include:
- Coats
- Backpacks
- Purses
- Umbrellas
Wall hooks reduce daily clutter.
Cabinets Hide Everyday Messes
Closed storage creates a cleaner appearance.
Popular cabinet uses include:
- Shoe storage
- Cleaning supplies
- Pet accessories
- Seasonal items
Hidden storage keeps spaces organized.
Mudrooms Improve Household Efficiency
Dedicated mudrooms are becoming increasingly popular.
Popular additions include:
- Cubbies
- Lockers
- Charging stations
- Message boards
Mudrooms streamline daily activities.
Mudroom Storage Solutions Support Busy Families
Large households benefit from designated storage zones.
Many homeowners also explore mudroom storage solutions when renovating entry areas.
Popular family-friendly features include:
- Individual cubbies
- Label systems
- Basket storage
- Extra shelving
Dedicated spaces improve organization.
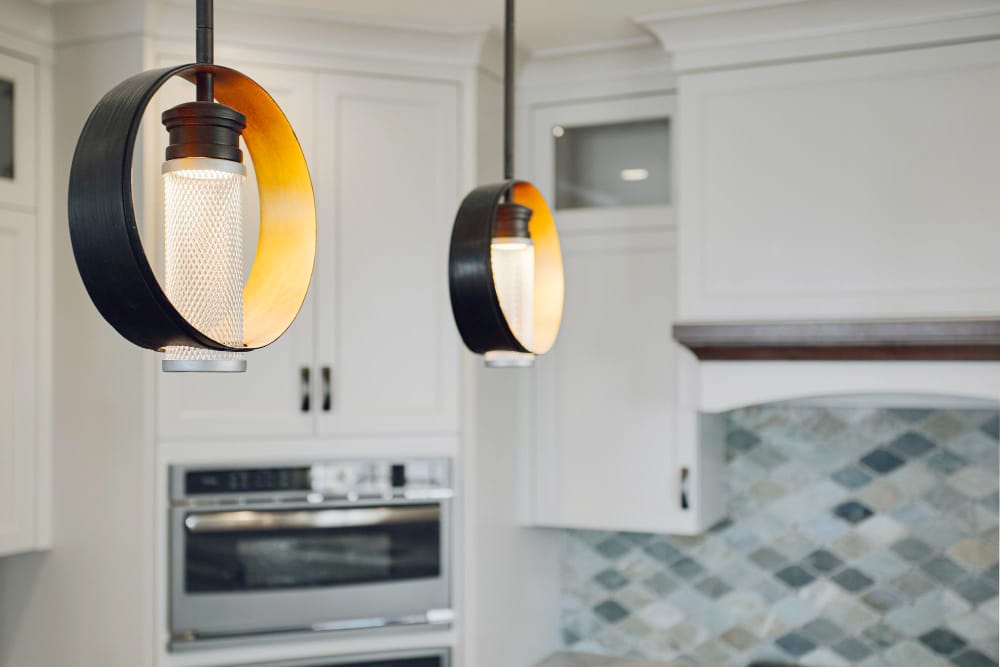
Lighting Improves Visibility and Style
Proper lighting enhances functionality.
Popular lighting options include:
- Pendant fixtures
- Wall sconces
- Accent lights
- Motion sensors
Lighting creates welcoming environments.
Professional Installation Ensures Better Results
Custom storage requires precise planning.
Professional services include:
- Space assessments
- Digital measurements
- Cabinet alignment
- Final inspections
Professional installation protects your investment.
Storage Benches Add Versatility
Multi-functional furniture maximizes efficiency.
Many homeowners also research entryway storage benches when designing practical entry spaces.
Popular features include:
- Lift-up compartments
- Hidden drawers
- Cushioned seating
- Decorative finishes
Storage benches increase functionality.
How Entryway Systems Increase Property Value
Organized homes attract buyers.
Benefits include:
- Improved functionality
- Enhanced buyer confidence
- Greater market appeal
- Luxury aesthetics
Storage upgrades often provide excellent returns.
Questions Homeowners Should Ask Before Starting
- How much storage do I need?
- Should I add a built-in bench?
- Do I need mudroom lockers?
- Should I install integrated lighting?
- What is my remodeling budget?
These answers simplify project planning.
Common Entryway Design Mistakes to Avoid
- Ignoring storage requirements
- Overlooking lighting design
- Choosing insufficient seating
- Skipping measurements
- Hiring inexperienced installers
Thoughtful planning ensures long-term success.
Final Thoughts
Investing in premium entryway storage systems allows homeowners to create organized, welcoming, and highly functional entrances.
From mudrooms and built-in benches to cabinets and lighting, every feature contributes to a better daily experience.
By choosing quality entryway storage systems, homeowners can enjoy beautiful entryways that remain valuable for many years.